
What is Lightning Charge?
In this entry we will describe the Charge solution and explain the steps to install and configure it. As a prerequisite it is necessary to have a functional c-lightning node and nodejs with a version greater than 7.6.
- Introduction
Lightning Charge is an application programming interface built on the c-lightning implementation that allows you to accept payments quickly and easily using a REST API.
Supports metadata about invoices, conversion to fiat currency, links and web sockets and events sent by the server. The main contributor to this interface is https://github.com/shesek
Several applications have been built on lightning Charge using its REST API, some of the most popular Lightning lapps are:
FileBazaar: It is an e-commerce tool for content creators that produce digital files such as photos, videos or music.
Lightning Publisher: It is a plugin to accept bitcoin payments for content in WordPress blogs. In this blog you can check its operation and use it to download a rebalancing guide here .
Nanotip: It is a simple web server to accept donations by lightning.
Paypercall: Charges satoshis for HTTP API calls.
Nanopos: It is a simple point of sale system for physical stores.
WooCommerce Lightning: The payment gateway is the WooCommerce ecommerce software.
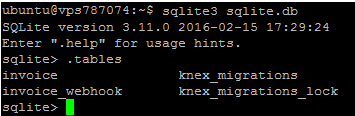
Charge uses a sqlite database to store invoices and other data related to webhook objects that allow you to register a URL as a web link to receive a notification once an invoice has been paid. If you want to consult the database, you must open it with the sqlite3 application like this:
To start the service you can configure additional variables such as
· The PATH or the path where c-lightning is installed and running (LN_PATH = ~ / .lightning)
· The path or path where the sqlite database will be located (DB_PATH = charge.db)
· An API_TOKEN to secure access to the API (API_TOKEN = mySecretToken)
· The port (PORT = 9112)
By default charge listen connections in 127.0.0.1. It is possible to configure the parameter -i 0.0.0.0 to enable all available interfaces. However, this is not recommended since Charge does not have TLS encryption and should not be exposed to the Internet. To enable access, you can configure an SSH tunnel or a TLS-enabled reverse proxy such as nginx, explained below.
To launch the full command would be:
$ charged --api-token mySecretToken # defaults: --ln-path ~/.lightning --db-path ./charge.db --port 9112- Installation
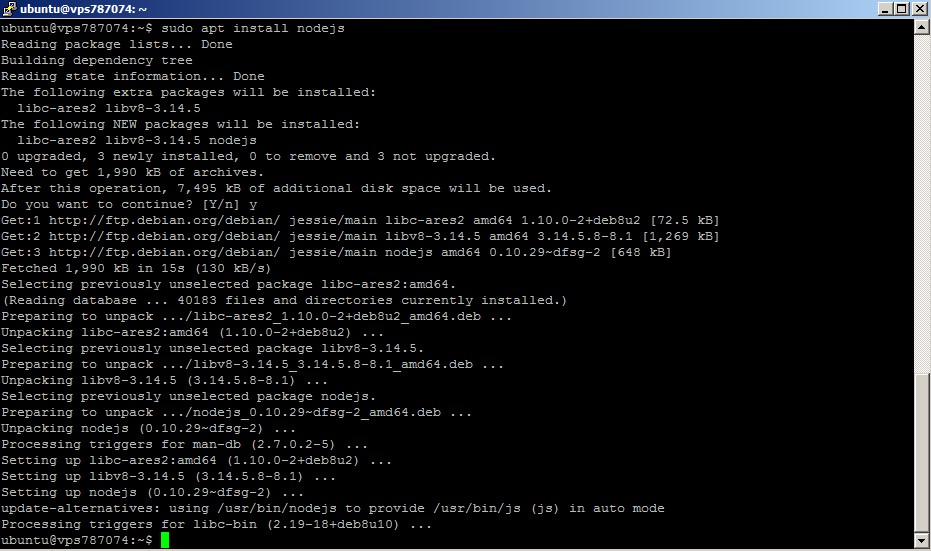
To start, you must install nodejs like this:
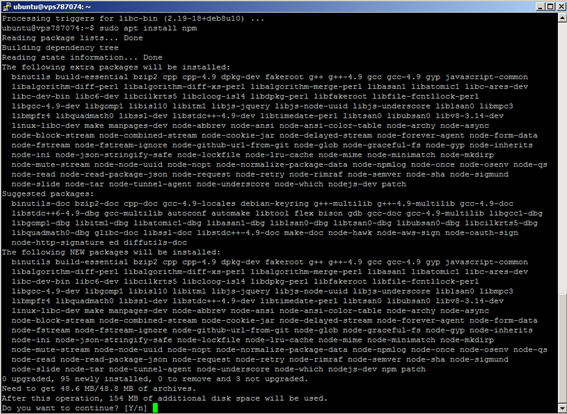
Install npm like this:
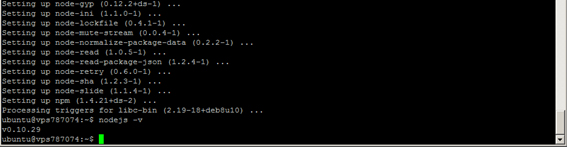
And confirm that it has been installed correctly:
Launch the installation:

To verify that the process is running correctly we can create an environment variable called CHARGE that has the following form:

Then we execute the program with our values and verify that it is running if it returns a JSON with the information of the c-lightning node.
- Configuration and use
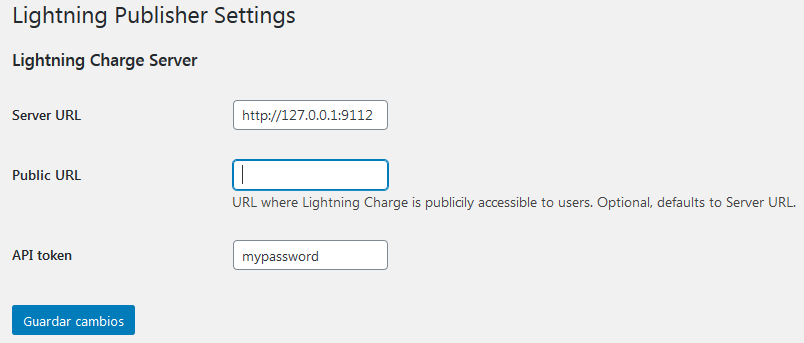
One of the applications (lapps) that we will use for the example is Lightning Publisher. This lapp is a simple plugin that accepts payments in lightning for the publication of content using WordPress CMS allowing to preview the blog entries and requiring a payment to release the rest.
It can be downloaded from the repository and its installation is like any other plugin.

To configure it you must enter the key used as API-TOKEN above and the same port, in this case mypassword and 9112.
Subsequently, to use the plugin it must be called using [IFPAID] to hide the content that will be blocked until payment is received.
To configure external access via https, the following must be configured in nginx.
To continue reading the rest of this post, please pay 0.00000010 BTC.
Pay to continue reading